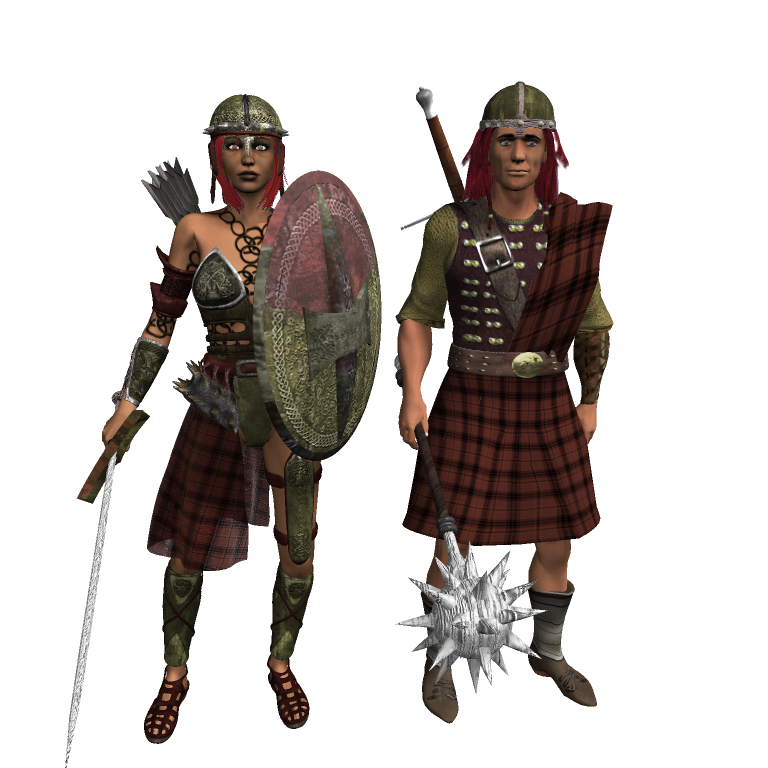
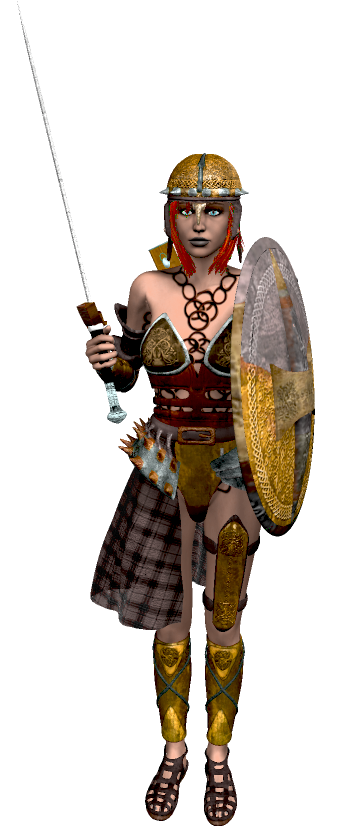
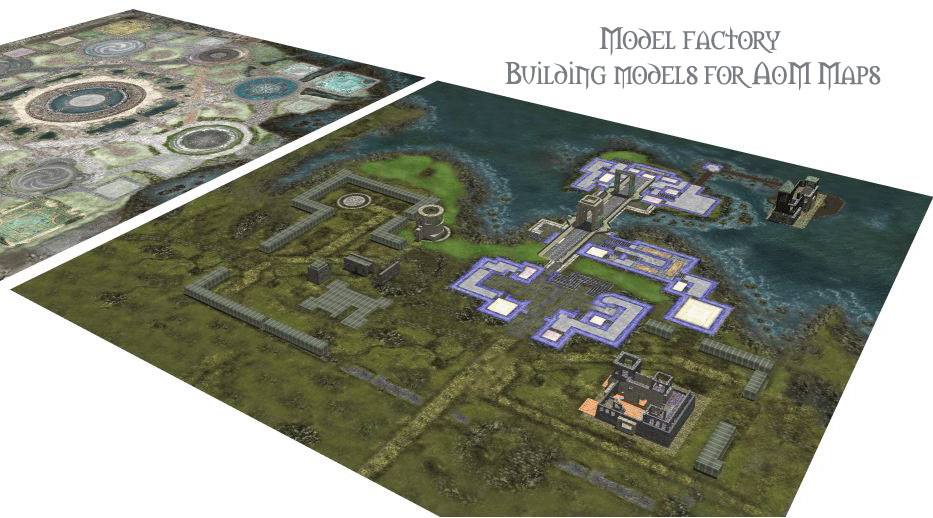
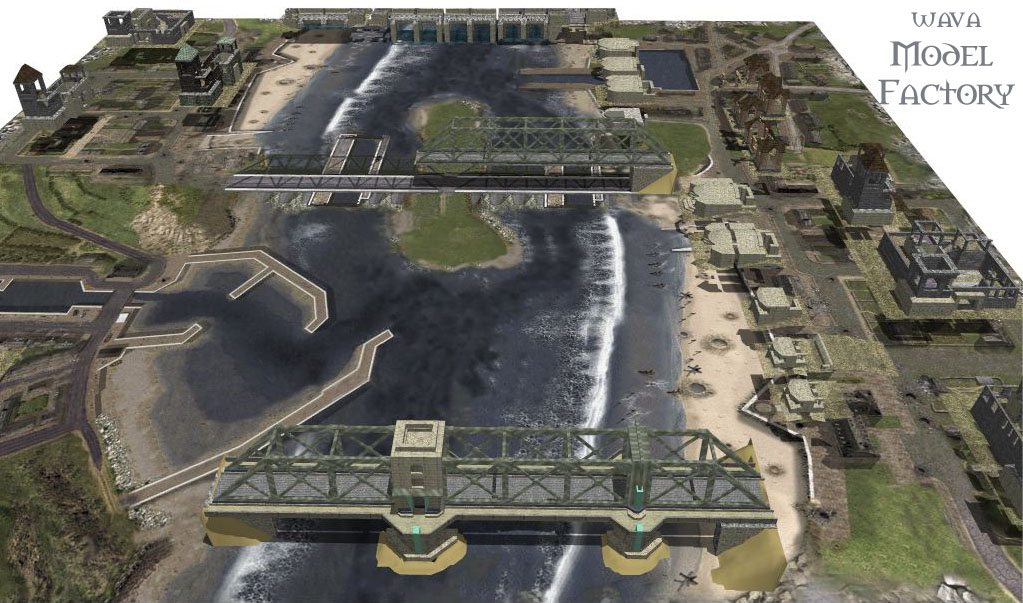
paladin MAIK wrote:Hey, guys! How is the work of rendering units? Point, Carlinho, how is work?

Rendering basics is first create a model then set the appropriate camera angle then render as many views as required for the model ...
if you have a particular program post which one it is and I would bet someone has some camera presets you can use.
some of what goes into making a unit for myth the Point way...
please add your knowledge and insights to the thread.
-- PoinT -ARMY
>>>------------3d Model-----set up------------------<<<
To take advantage of the 8 hue changes via oak/amber -collection references.
-----------------notes------render color setup suggestions
Color Table -HUE -(256)- colors
--Grays- 000 (12)
1UniformLeather 010 (24)
2UnitHair 030 (8)
3UniformShirt 040 (16)
3UniformJacket 060 (32) +
4UniformPant 090 (48)
5UniformHelmet 150 (48)
6Player 180 (8)
7Team 200 (8)
--Background 240 (1)+(1)
--CenterDot 270 (1)
--Divider 300 (1)
8Unit Skin 330 (24)
--Wood- 350 (16)
--Blood- 360 (8)
------------------------------------------------------------------------
-------------------------------------------------------------------------
>>>-------------render lighting setup -------------------
use unsaturated lights (no colors)
light- Sun... cast shadows on
light- North ambient no shadows
light- South ambient no shadows
light- East ambient no shadows
light- West ambient no shadows
>>>--------------Camera setup angle---------
-25 degrees is typical for myth II renders
poser cam settings.
focal= 0mm
perspective= 0mm
distance =10.0
fstop=3.0
dz=11.00
dY=2.0
dx=o.o
scale=190
xorbit=-25d
zorbit=0
yorbit=0
-------------render setup angles-------------------
either rotate the camera, or rotate the model -
--4 views (parts, pieces, items)
30
120
210
300
--8 views ( man size )
0
45
90
135
180
225
270
315
--12 views (laying down unit size)
0
30
60
90
120
150
180
210
240
270
300
330
--12 views (laying down unit size)
0
30
60
90
120
150
180
mirror
--16 views (vehicle size)
0
22.5
45
67.5
90
112.5
135
157.5
180
202.5
225
247.5
270
292.5
315
337.5
--16 views (vehicle size) Mirrored
0
22.5
45
67.5
90
112.5
135
157.5
180
--24 views (large vehicle size)
0
15
30
45
60
75
90
105
120
135
150
165
180
195
210
225
240
255
270
285
300
315
330
345
--36 views (if ya wanna go crazy)
0,10,20,30,40,50,60,70,80,90,100,110,120,130,140,150,160....
>>>-----Animation----
Rotate animation angles clockwise
typical Y axis rotation 0 -45 -90 etc...
if renders are done in the wrong direction they will act buggy in game
and bitmaps would have to be re ordered manually in oak/amber.
>>>----------------------render size -------------------------
128x128, 256x256, 300x300, 512x512, 768x768
varies depending on what level of detail desired.
(cropped pixel dimensions of 256x256 was myths engines old limit)
for warfare Vehicles rendered at 768x768 (=two times the soldier object size)
>>>------------------------Textures-----------------------------
textures power of 2 pixels dimensions
2 4 8 16 32 64 128 256
-------------------------------------------------------------------
>>>------------notes-------4--Poser----animation------Points--------
-turn off hidden body parts prior to render or use transparency map to hide.
- reorder walks and runs to start middle, if you walk designer.
--- verify wounded textures on and off for appropriate frames.
--- check facial expressions..
--render movie to image files - .png
--aniti alias, bump maps on
-pixle samples =2
-raytrace off
--min shading rate =0
--max bucket size per ram available 128 typical
-------------------------------------------------------------------
>>>----animation-----------------sequences -------<<<
--reference warfare animation sequences for an idea of frames---
-------------------------------------------------------------------
------------------------------------------------------------------
>>>----------color table----------------creating-----<<<
index to 256 colors several merged key frames from unit renders and save color table... or use adobe image ready to create a unified color table for the whole collection.
>>----image ready save an image from unified color table...
Step import frames into layers
turn layers all on
save a file or batch -with unified custom color table selected.
one can export layers using saved batch to png in image ready or use photoshop batch to index all renders.
edit color table order. --1 Background color, 2 Divider color and 3 transparent if used. then save
>>-------------------------------------------------------------------------
photoshop batch----
1 open the actions palette
2. select new action
3. click on record
4. index color
5. save file as
6. click on stop
advanced automate --> Batch
>set background color to 240, 0 , 0 (or your render background)
>select background
>convert mode (index color)
>color range (select background hue) black or dark gray
>Index perceptiual 35 percent
>cut (cut background creating new transparent and eliminating blue edges)
>save file as... to new folder
>close
>rinse lather and repeat
-------------------------------------------------------------------
-------------------------------------------------------------------
>>>--- importing into myth via Oak or Amber ---<<<
see oak or ambers instructions and follow

>>-0ak beta...
Import uncropped full size centered renders then crop after import when replacing bit maps to keep alignment use crop on import.
>>>---creating via myth II Fear ----------<<<
create collection reference for imported collection
make unit or scenery tag
etc.... simply follow fear instructions ...

-------------------------------------------------------------------
-------------------------------------------------------------------
>>Tag collection sequence settings
sounds
-key sound frames... when the sound is created in animation.
-Key frame- when a projectile is created ( trigger -fire- reload-)
-Loop frames where a sequence repeats
